Template
Step-by-step guide
This step-by-step guide will aid you create a new Konstellation version for your project from scratch, let’s start by creating a “greeter” workflow.
This startup guide is written in Python and Golang for KRT V2.
1. Create the version structure
Start by creating an empty project with the following folders and files:
   project
     └───build
     └───greeter
           └───bin
           └───docs
           │
           └───models    # If the process needs a model to do the inference
           │
           └───src       # Source code of each node
           │   └───hello
           │         └───main.py
           │   └───exitpoint
           │         └───main.go
           |
           └─── metrics
           │   └───dashboards
           |
           |   krt.yml   # krt manifest
           |   public_input.proto    # proto defining entrypoint Services and Messages.
           |   internal_nodes.proto  # proto defining Messages that interconnect nodes.
     └───README.md
2. Fill the krt.yml
You can find more information regarding krt specifications here.
version: greeter-v1
krtVersion: v2 # new tagged krt version
description: Version for testing. Hello world!
entrypoint:
  proto: public_input.proto
  image: konstellation/kre-entrypoint:latest
config:
  variables:
  # Global variables go here
workflows:
  - name: greeter-workflow
    entrypoint: Greeter
    exitpoint: exitpoint-node # name must match node's
    nodes:
      - name: hello-node
        image: konstellation/kre-py:latest
        src: src/greeter/main.py # python nodes path main source code file
        gpu: false
        replicas: 1
        subscriptions:
          - "entrypoint"
      - name: exitpoint-node
        image: konstellation/kre-py:latest
        src: bin/exitpoint # golang nodes path compiled bin file
        gpu: false
        replicas: 1
        subscriptions:
          - "hello-node"
3. Create and compile the protobuf files
public_input.proto
This file will be used to define the public nodes’ data contract and should contain the following info:
Requestmessage: main entrypoint entrance.Responsemessage: Final response.Entrypointservice that routes to the first node and returns aResponsemessage.
syntax = "proto3";

package main;

option go_package = "./proto";

message Request {
  string name = 1;
}

message Response {
  string message = 1;
}

service Entrypoint {
  rpc Greeter (Request) returns (Response) {
  };
};
internal_nodes.proto
This file will describe proto data used for communications between nodes.
syntax = "proto3";

package main;

option go_package = "./proto";

message Greet {
  string message = 1;
}
After creating the protobuf files, the next step is to compile them and generate the result
files inside each node folder.
It can be done using the following command from the project’s root:
protoc -I=./greeter \
  --python_out=greeter/src/hello/proto \
  greeter/*.proto

protoc -I=./greeter \
  --go_out=greeter/src/exitpoint/proto \
  --go_opt=paths=source_relative greeter/*.proto
Once the protobuf files are compiled, you can start coding the nodes.
4. Develop the nodes
Start by initializing the Golang exitpoint node. Type when placed inside the exitpoint folder.
go mod init exitpoint
Then define init and handler functions explained here
Here is an example on how to code your files:
hello/main.py
from proto.public_input_pb2 import Request
from proto.internal_nodes_pb2 import Greet


def init(ctx):
    ctx.logger.info("[executing init]")

async def default_handler(ctx, req):
    ctx.logger.info("[executing default handler]")

    request = Request()
    req.Unpack(request)

    res = Greet()
    res.message = f"Hello {request.Name}!"
    await ctx.send_output(res)
exitpoint/main.go
package main

import (
 "github.com/konstellation-io/kre-runners/kre-go"
 "google.golang.org/protobuf/types/known/anypb"
)

func handlerInit(ctx *kre.HandlerContext) {
 ctx.Logger.Info("[handler init]")
}

func defaultHandler(ctx *kre.HandlerContext, data *anypb.Any) error {
 ctx.Logger.Info("[executing default handler]")
 ctx.SendAny(data)
 return nil
}

func main() {
 kre.Start(handlerInit, defaultHandler)
}
5. Build the .krt file
In order to upload a new version to the KAI Server, it’s necessary to create a .krt file that contains all the required files. This file can be created with the following script executed from the project’s root:
#!/bin/bash

# shellcheck disable=SC2086

## USAGE:
#    ./build_krt.sh <new-version-name>

set -eu

VERSION_DIR="greeter"

# NOTE: if yq commands fails it due to the awesome Snap installation that is confined (heavily restricted).
# Please install yq binary from https://github.com/mikefarah/yq/releases and think twice before using Snap next time.

echo -e "Reading current version: \c"
CURRENT_VERSION=$(yq e .version ${VERSION_DIR}/krt.yml)

echo "${CURRENT_VERSION}"

VERSION=${VERSION_DIR}-${1:-${CURRENT_VERSION#$VERSION_DIR-}}

if [ -z "$VERSION" ]; then
  echo "error setting KRT version"
  exit 1;
fi

echo "Building Exitpoint node Golang binary..."
cd greeter/src/exitpoint
go build -o ../../bin/exitpoint .
cd ../../..


echo "Generating $VERSION.krt..."

mkdir -p build/${VERSION_DIR}
rm -rf ./build/${VERSION_DIR}/{docs,src,assets,models,*.proto,*.yml} || true

cd build/${VERSION_DIR}

cp  -r ../../${VERSION_DIR}/* .

yq eval --inplace -- ".version = \"${VERSION}\"" ./krt.yml

tar -zcf ../${VERSION}.krt  --exclude=*.krt --exclude=*.tar.gz *
cd ../../
rm -rf build/${VERSION_DIR} || true

echo "Done"
6. Deploy and test the new version
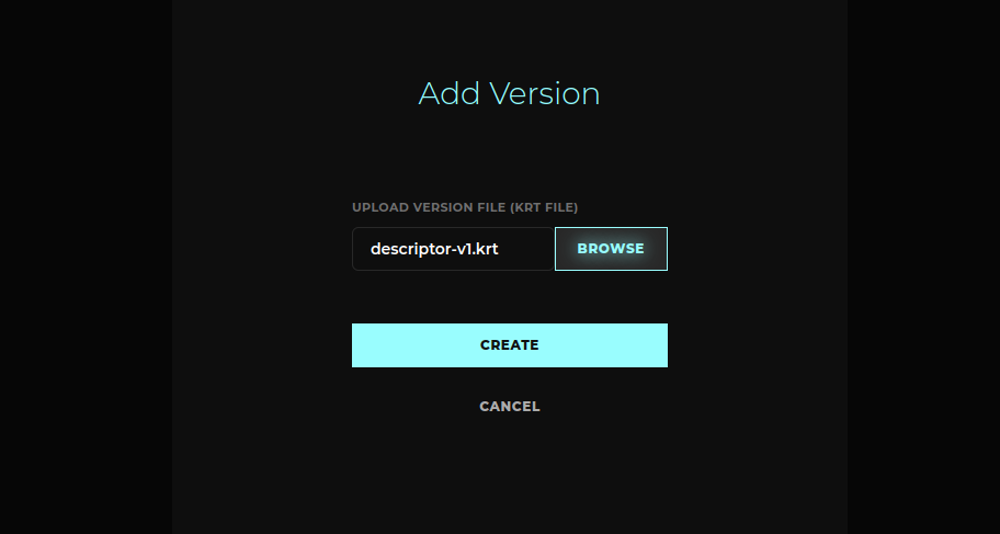
Once the .krt file is created, it can be uploaded to KAI Server.
Finally, in order to test the new version, you can publish your version and send GRPC requests to
the published ingress or for local testing copy the run_test.sh script from the demo repo and use
it like this:
run_test.sh <NAMESPACE> <VERSION_NAME> <WORKFLOW> <NUM_MSGS> <NAME>
Example: For our namespace kre in a runtime demo and a krt version greeter-v1,
you can try out these commands:
./scripts/run_test.sh kre demo greeter-v1 Greeter 1 Alex
./scripts/run_test.sh kre demo greeter-v1 Greeter 2 Kazuma_Kiryu